After letting the urushi dry for a week, it is now time to start filling the low points. The following layers of color urushi will form rings and create the main features when the finish is ultimately sanded flat. Given this, it is important to think a head a little about what colors to use, their order and how the finish will eventually appear. In the case of these cups, I have decided to use yellow for the first coat. Because I used black to create patterns, I wanted a color that will contrast well with the black, as well as with the other colors in the following layers. It is actually a common choice for just these reasons. I am still contemplating some other non-traditional colors for the coming layers, but I am still debating between several options.
When making yellow, I have still not found a single pigment that will give a yellow I like when mixed with urushi. It is probably due to the short time spent at a color mixing lab many years ago, but I tend to be rather picky about my colors. This is particularly true when working with urushi because it is never full transparent. Even when used in “clear” form, it still retains a reddish hue that greatly impacts the color upon drying. This time, I used 2 yellow pigments to create a vibrant, not overly neon yellow that will hopefully not discolor too much when dry.
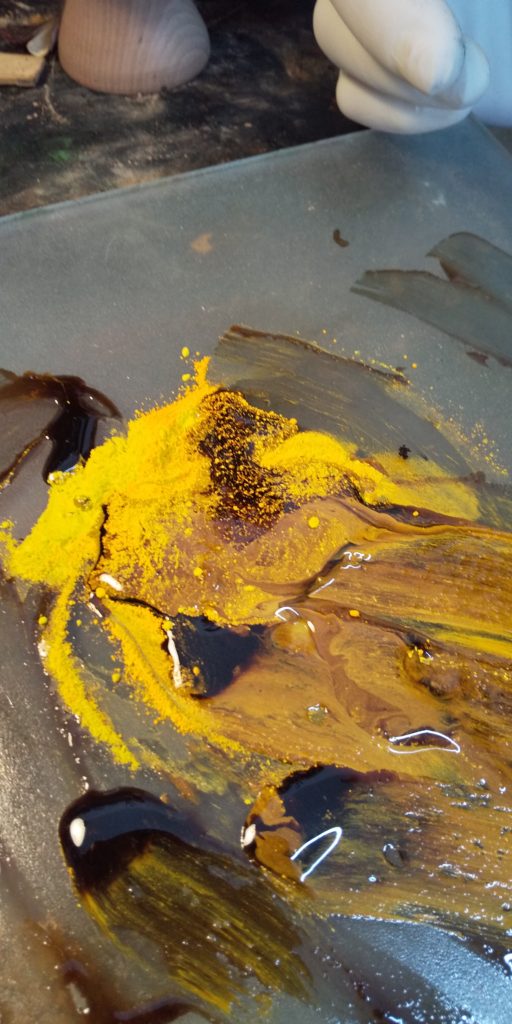
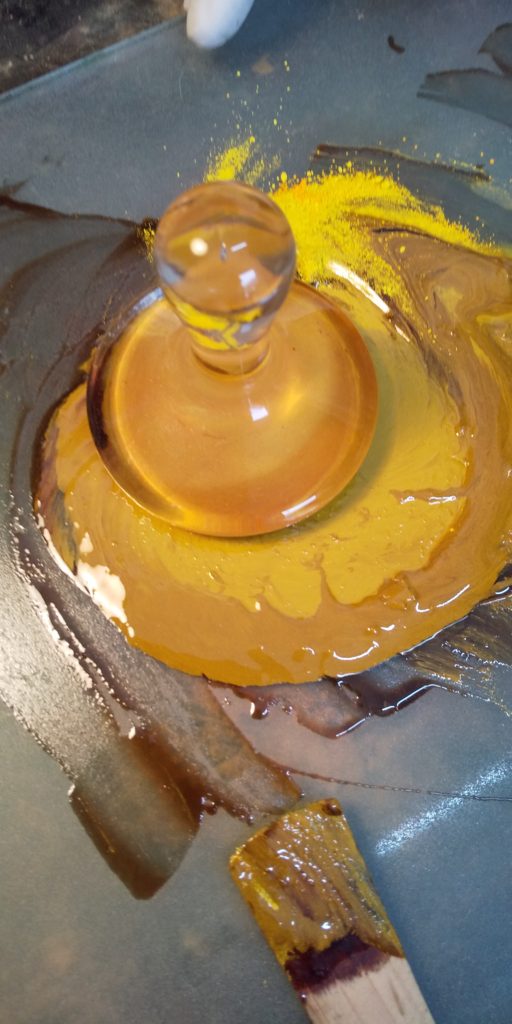
Getting good color when using urushi takes some elbow work. Due to the lack of transparency, the colors are often dull, and it is difficult to obtain truly vibrant colors. One of the ways around this problem is to spend a long time mixing and grinding the pigment. Sometimes this is done over the course of several days before using. Often, the more time spend mixing and grinding, the better the resulting color.
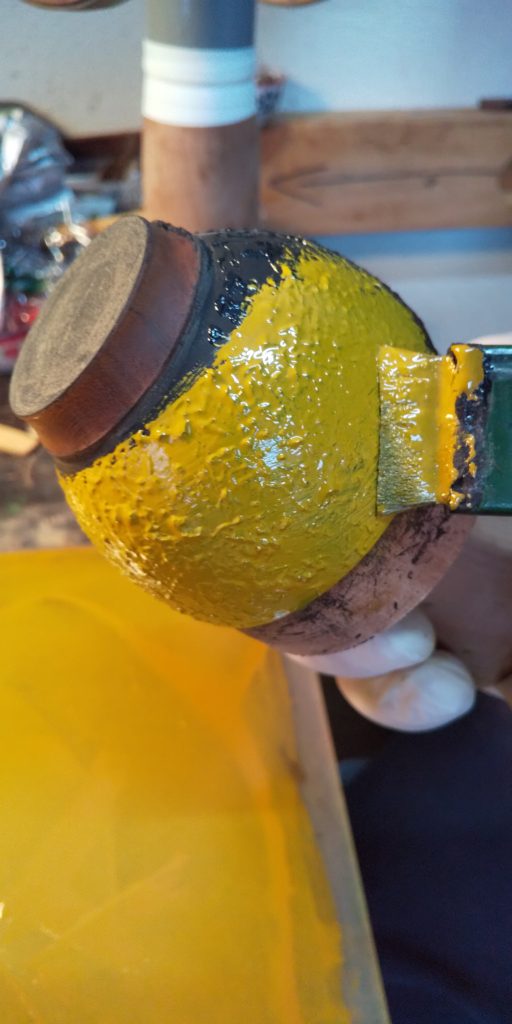
After spending as much time as possible mixing the yellow, I applied the first coat to the cups. I have found that this first coat is often the most difficult to apply thinly and evenly due to all the bumps and protrusions on the surface. The urushi tends to pool at the base of the largest, sharpest protrusions. At best, this will just result in a thick ring color, but at worst, the urushi will not dry properly. When the urushi layer is too thick, it will wrinkle. This occurs because the surface shrinks as it dries. This shrinking surface layers floats on top of the still wet interior to form the wrinkles. The problem is that the interior urushi will not dry for months or even years. There are no simple solutions, so needless to say, this is something that should be avoided.
After letting the urushi dry for a couple of days, I will apply a very thin layer of clear urushi in order to enhance the depth of the yellow layer. With lacquerware, it is hard to say that any one step is more important than another, but I find these coating steps to be the most enjoyable. Thinking about how it will look at the end, thinner or thicker layer, what color to use next and so many other variabilities makes this whole process so much more interesting that simply painting on a coat. The endless possibilities truly make this one of my types of finishes.